Welcome to part 1 of the Punk Not Profit! Permaculture Gardening Journal
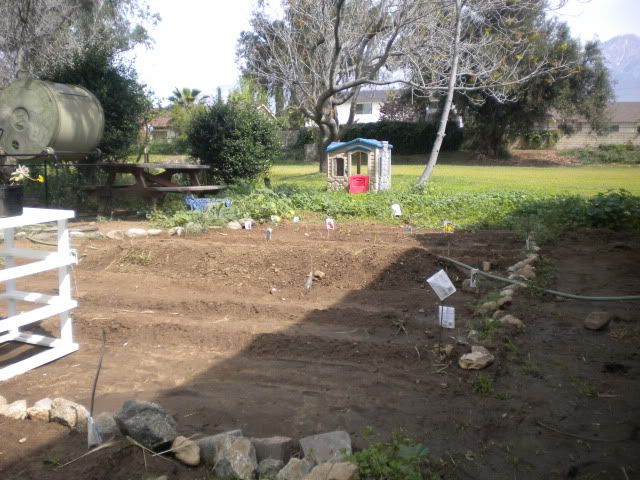
We tilled and started planting about 3 weeks ago. Since then a few sprouts have come up, mostly beets and lettuce. Here's a list of what's been planted so Far:
Carrots
Romaine Lettuce
Broccoli
Turnips
Radish
Kale
Flowering Kale
Cauliflower
Parsley
Cucumber
Pickle Cucumber
Beets
Kohlrabi
Rainbow Bell Pepper
Arugula
Zucchini
Summer Squash
Cantaloupe
Water Melon
Eggplant (Black Beauty)
Large Cherry Tomatoes
Tomatoes
Basil
Rosemary
Thyme
Chives
Dill
Green Onion
When you sow your seed you have to have the soil at least tilled a few inches down and if possible get a few truck loads of mulch and spread it over the soil so when you till it mixes in.
This time around we weren't able to get a lot of mulch in before tilling but that's okay because the soil around the house is very nutrient rich already.
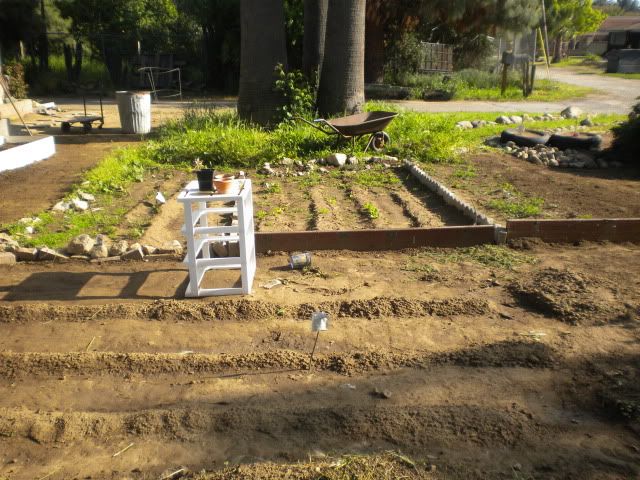
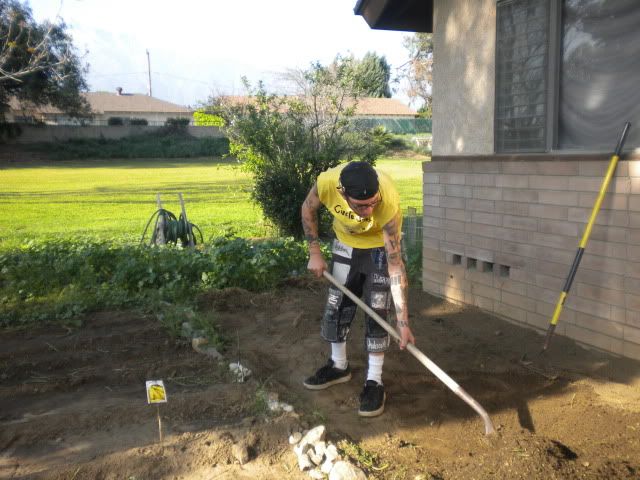
Once we had our first plot of land tilled up, we were ready to start sowing seed. This is a process that takes very little time and effort, and it's fun because there are many ways to lay out and design a Permaculture garden.
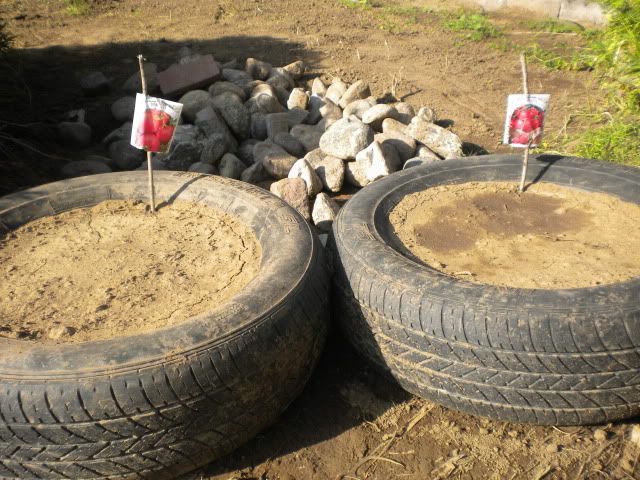
Here's an example of one way to plant tomatoes...
In a nutshell, the difference between plain old gardening and Permaculture is that with Permaculture you're creating a self-sustaining ecosystem by naturally manipulating grow cycles.
The trick is to have nitrogen rich soil and of course good irrigation. Using chickens and growing legumes are the two best ways to naturally enrich the earth with nitrogen. If you can't have any chickens, the legumes would be enough but using chickens is the fastest way to establish a Permaculture system.
I'm going to write more later about how awesome chickens are for growing food but I can't have chickens right now so I'm just using Legumes.
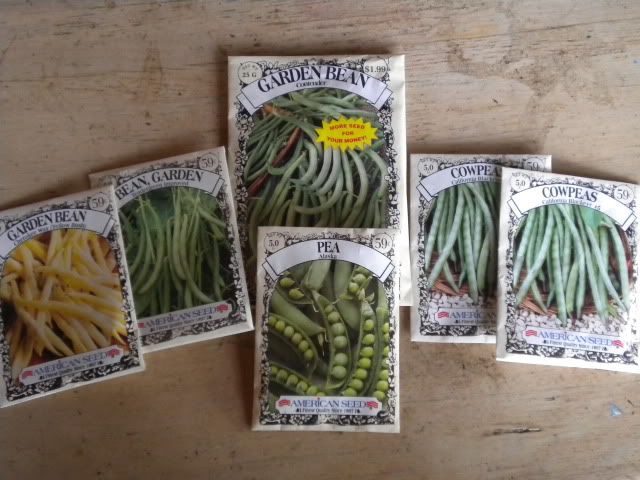
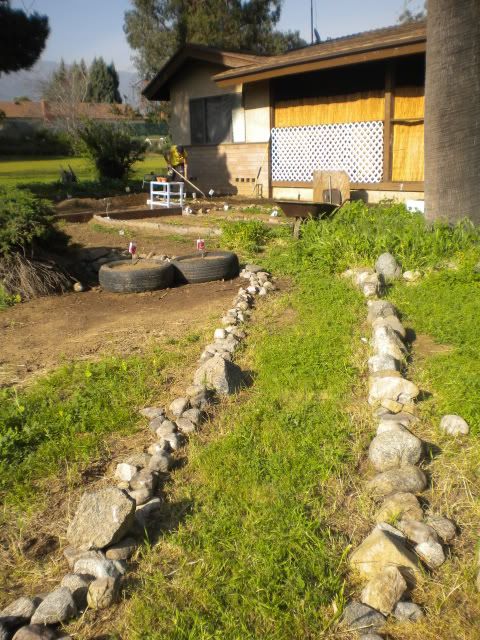
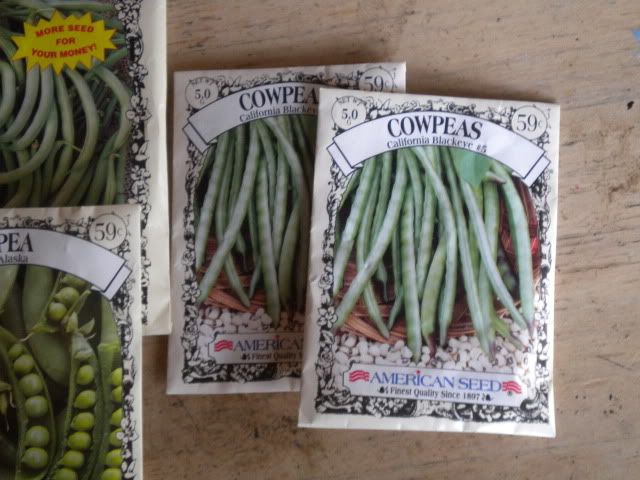
These are just a few different types of legumes you can use. I've heard that cow peas have a very high amount of nitrogen in them so they're one of the best to plant. The legumes live in die in different cycles, some plants die and reseed every year, others wont die for up to 15 years. The goal is to have legumes constantly growing inside and around your Permaculture garden. The way I'm doing this is by making large mounds about 3 feet wide and 10 or more feet long. These mounds will be inside and all around the garden as it expands.
After the first grow cycle you'll start seeing the benefits of Permaculture. The soil will be enriched with nitrogen and other essential naturally occurring nutrients. You'll start noticing a higher yield in less time with less effort.
"Chop and Drop"
First off one of the problems with gardening or farming the old fashioned way is the misconception that everything needs to be planted in rows by itself. Secondly, it's not true that weeds are always a bad thing as long as they're kept under control they too can benefit a Permaculture system as part of what's called "Chop and Drop"
When a PS is ready for harvest you do not have to remove dead or unused foliage, you simply chop out what you grew and drop the remains on the ground. This not only refertilizes the soil but also takes a lot of time and labor out of Harvesting.
After about ten years an established PS will be completely sustainable and regrow by itself with very little effort on the grower's part after harvest.
SEEDS
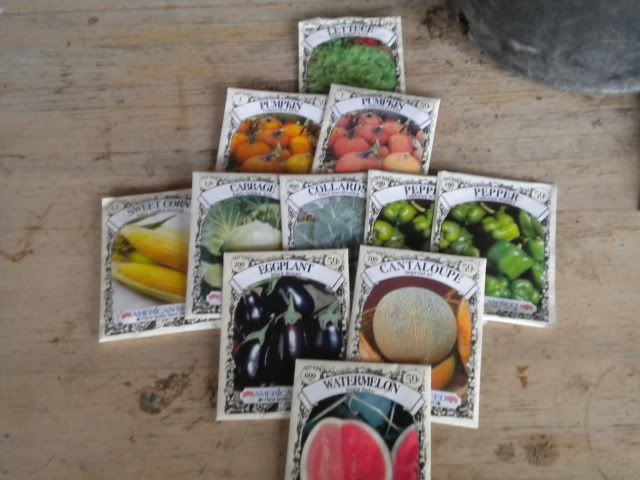
I get most of my seeds from the .99 cents store up the street. They sell for .11 cents a pack, they usually have about 50 or so varieties. Seeds can go for up to 3.00 a pack other places so this is a really good deal, a cheap way to get a ton of seeds.
There are organisations online that will send you free packs of seeds if you pay for the shipping, I have yet to take advantage of that.
If you get food stamps (like me sometimes), you can use them to buy seeds or even sometimes potted plants, maybe that way you can grow your own food and get off the stamps.